d·id›

Talking video guide

Follow a d id tutorial step by step for a photo presenter

This d id tutorial step by step walks you from a clear portrait and short script to a talking-video preview. You will also learn what to check when the voice, framing, or lip movement needs another pass.

Opens a separate video tool

Before following the steps, set realistic expectations: a photo presenter can communicate a message, but it cannot repair weak source material or establish consent for you.

1

A blurry portrait stays difficult to animate

If the face is tiny, obscured, or sharply turned away, mouth movement and facial detail may look unstable. Enlarging a small image does not restore missing detail.

What to do instead

Choose a sharp, front-facing photo with the full face visible and even lighting.

2

Animation does not verify identity

A convincing presenter is not proof that the pictured person recorded or approved the message. Never use someone else's likeness or voice without appropriate permission.

What to do instead

Use your own image or an authorized asset, and label synthetic video when its origin could be unclear.

3

A generated take is not a complete edit

The first clip may need changes to its script, pacing, framing, or pronunciation. Background music and captions may also require a separate editing pass.

What to do instead

Preview the full clip, revise one issue at a time, and keep the original image and script for comparison.

numbered steps

Follow these steps in order. Keep your first attempt short so you can identify problems before producing a longer message.

  1. 1

    Choose a suitable portrait

    Select a clear image of one person facing the camera. Leave space around the head so a crop does not cut off the chin or hair. Check that you have permission to animate the likeness; that matters more than finding a particularly polished photo.

  2. 2

    Write and check the script

    Draft a brief message in natural spoken language. Read it aloud to catch long sentences, ambiguous names, and awkward punctuation. In a d id workflow, shorter phrases give you clearer places to pause and make any pronunciation error easier to locate.

  3. 3

    Set up the presenter and voice

    Add the authorized portrait and script to your chosen video tool, then choose an available voice that suits the message. If the tool offers language or pacing controls, confirm them before generating. Options vary by tool, so do not assume every voice or control will be available.

  4. 4

    Generate, watch, and revise

    Make a preview and watch it with sound from beginning to end. Check the opening crop, names, pauses, lip movement, and final frame. If something is wrong, change the relevant input and generate another take rather than accepting the first output by default.

common errors and fixes

Use the symptom to decide whether to change the portrait, script, voice settings, or final edit. This keeps revisions focused.

What you notice What to try
Face looks distorted The source face is angled, covered, very small, or poorly lit. Try a sharper, front-facing image with even light and an unobstructed mouth.
Mouth feels out of sync Fast delivery or an unclear source image makes speech motion harder to follow. Shorten the sentence, add natural punctuation, and check the face is large enough in frame.
Name is pronounced incorrectly The voice interprets an unfamiliar spelling differently from the intended pronunciation. Test a phonetic spelling or rephrase the line, then listen to a new preview.
Voice sounds rushed The script has dense sentences without clear breaks. Split long sentences and add punctuation; adjust pacing if your tool offers that control.
Head is cropped The portrait leaves too little space around the face for the selected framing. Use a wider source image or change the crop before generating again.
Message feels unnatural Written copy sounds formal when spoken aloud by a presenter. Replace jargon with conversational wording and keep each line focused on one idea.
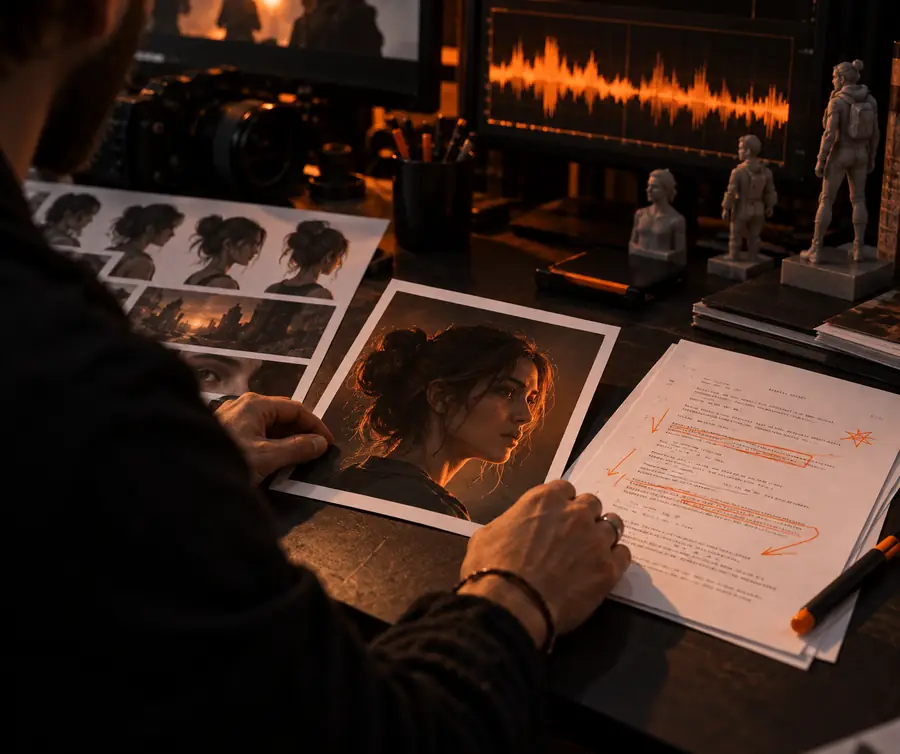
Portrait and script being prepared in a video-making workspace
Portrait and script
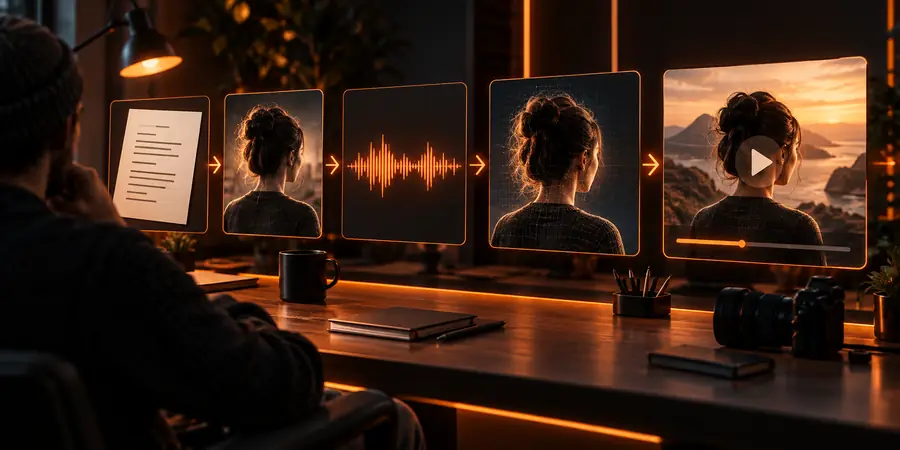
Presenter shown as the outcome of a talking-video workflow
Presenter preview

This illustrates the preparation-to-preview workflow, not a guaranteed transformation of the pictured person. Judge your own d id result by watching the entire clip and comparing it with the source material.

Portrait and scriptPresenter preview

advanced tips

Once the basic video works, adapt the same process to the audience. These examples show when a small change to the input can improve the result.

Educator

An instructor needs a short lesson introduction from an authorized portrait.

Write one learning objective into the opening line, then preview technical terms aloud before making the full lesson. For background on the format, read the linked explanation of the technology.

What is D-ID?

Communications team

A team wants a presenter to deliver an update attributed to a real colleague.

Confirm the colleague approved the image, wording, and intended audience. Review the final clip for anything that could imply the person personally recorded the speech.

Is D-ID safe?

First-time creator

A creator is testing a welcome message before committing to a longer script.

Use a brief draft to test pronunciation and framing. Check the linked access guide for practical considerations, and avoid assuming that every online tool has the same options.

d-id ai free

Have a permitted portrait and a script ready? Try a short talking-video take in the linked video tool. Watch the result before sharing it, and revise the image or wording if the presenter does not communicate the message clearly.

Turn your prepared message into a preview

  • Start with an authorized image
  • Keep the first script short
  • Review the full preview before sharing
Create talking video

tutorial FAQ

Prepare a clear portrait you have permission to use and a short script. A front-facing image with an unobstructed face gives you a better starting point for evaluating the preview.

Add an authorized portrait and spoken text to a tool that supports photo presenters, choose an available voice, and generate a preview. Watch the whole result before sharing it, because framing, pronunciation, and lip movement may need revisions.

An angled or low-detail face can make movement harder to render consistently, while a dense script can make speech feel rushed. Try a clearer portrait and shorter sentences, changing one input at a time so you can tell what helped.

Use another person's likeness only when you have appropriate permission for the intended use. A generated video can appear to show that person speaking words they never recorded, so consent and clear disclosure are important.

Start with a short message to test the image, voice, and pronunciation. Once the preview looks and sounds right, expand the script in manageable sections and review the complete result.

Start creating
Start creating